 Millworker
 Material Manager
The shop's materials, edgebands, veneers and finishes in one shared database: a manager only.
- An assembly of panel parts. Millworker tab → Materials → Material Manager.
- A drawing. Millworker tab → Callouts → Material Manager.
- The first time, it asks for the material database folder (also in Settings).
Everything is kept in a shared SQLite database, Millworker Materials.db. Every change is saved straight away.
A manager only. Nothing is put on parts from here: Materials Finishes does that, and is usually the first step (most of the time you won't need the manager at all).
Codes come from MatFin. The parts, the drawing's callouts and the tags all get the code from the project's MatFin workbook (its EWC code). The Material Manager's Default code (and an edgeband's Edgeband code, EB-1…) is never used: Push to MatFin shows it in the workbook's DEFAULT CODE column, and Reference Tables shows it on the row, for reference. To use it, type it in the row's EWC code. Until the workbook has a row for an item, its code is blank.
Pictures: set your textures and finishes folder in Millworker Settings (Textures folder), and Image… opens there. A picture chosen from inside it is kept by its path in that folder (WoodWalnut.jpg), not copied, so when the folder moves to another drive or server, change the setting and every entry finds its picture again: by the same path, else by the same file name anywhere in the new folder. A picture from outside the textures folder is kept by its full path. With no textures folder set, a picture is copied into the database’s Images folder, as before.
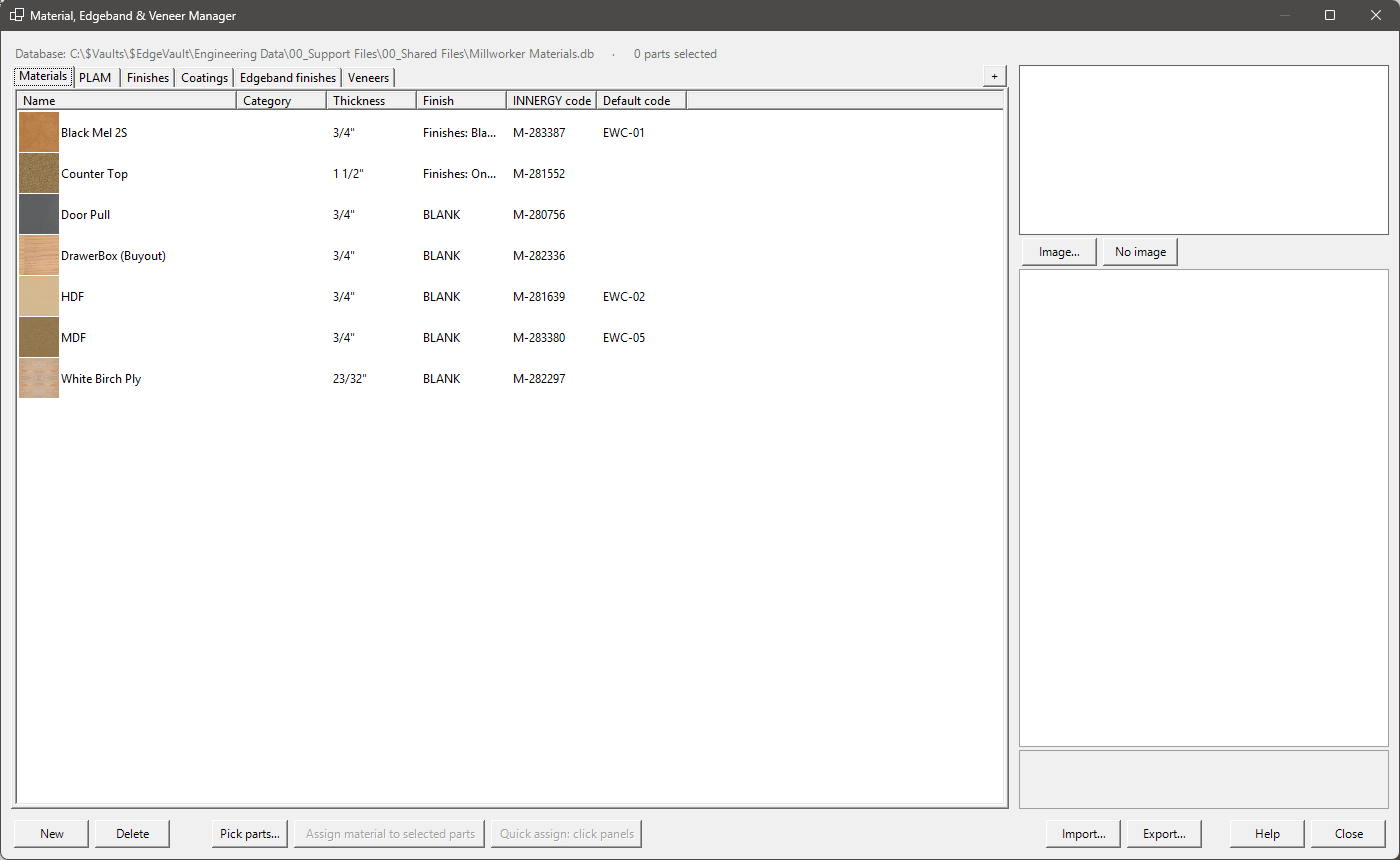
Materials
Name, category, thickness, the optional INNERGY code and INNERGY material (the nest's stock code, and the SKU that links it to each project's MatFin workbook), Default code (shown in MatFin, not used), grain, sheet size, the library material it starts from (Start from material), notes and a picture. The part's Inventor material is named after the INNERGY material when there is one, else after the material's own name.
A material also has a finish: Finish type (BLANK, Veneers, or a finish tab) and Finish. When Materials Finishes puts the material on a part, the material goes on the body and its finish, if it has one, on the part's two largest faces. New, Delete and Image… are at the top.
PLAM
Plastic laminates, on their own tab after Materials. A PLAM has the same settings as a material (name, category, thickness, INNERGY code, Default code, INNERGY material, grain, sheet size, Start from material, notes and picture) but no finish on its faces: the laminate is the finish. Materials Finishes puts it on as the parts' material, and takes any finish off their large faces.
Looking up INNERGY codes
Click an INNERGY code or INNERGY material box on a material or PLAM, an Edgeband code, or a veneer's INNERGY code, then click its … button. The Find in INNERGY window searches the INNERGY material library by name or SKU (every word you type must match), and you can narrow it to one INNERGY category. It starts on the category that fits (P-lam for a PLAM, edges for an edgeband, and so on). Pick a material and click OK, or double-click it. Its SKU goes into the code, and its name goes into INNERGY material; a Face 2 code takes the SKU only. On a material or PLAM, the INNERGY custom field micValue (the sheet’s actual thickness, 0.728 for an “18mm” sheet) goes into Thickness when the INNERGY material has one. Each time the Material Manager opens, every material and PLAM with an INNERGY code takes its micValue the same way (the header names any it changed), so a value changed in INNERGY comes in after Fetch again. A library fetched before this was kept is fetched again the first time. The library is fetched once with your INNERGY login (Settings, References tab) and kept; Fetch again reloads it. All of this needs Use INNERGY ticked in Settings, References tab; with it unticked the codes are typed in by hand and thickness isn't changed.
Edgebands
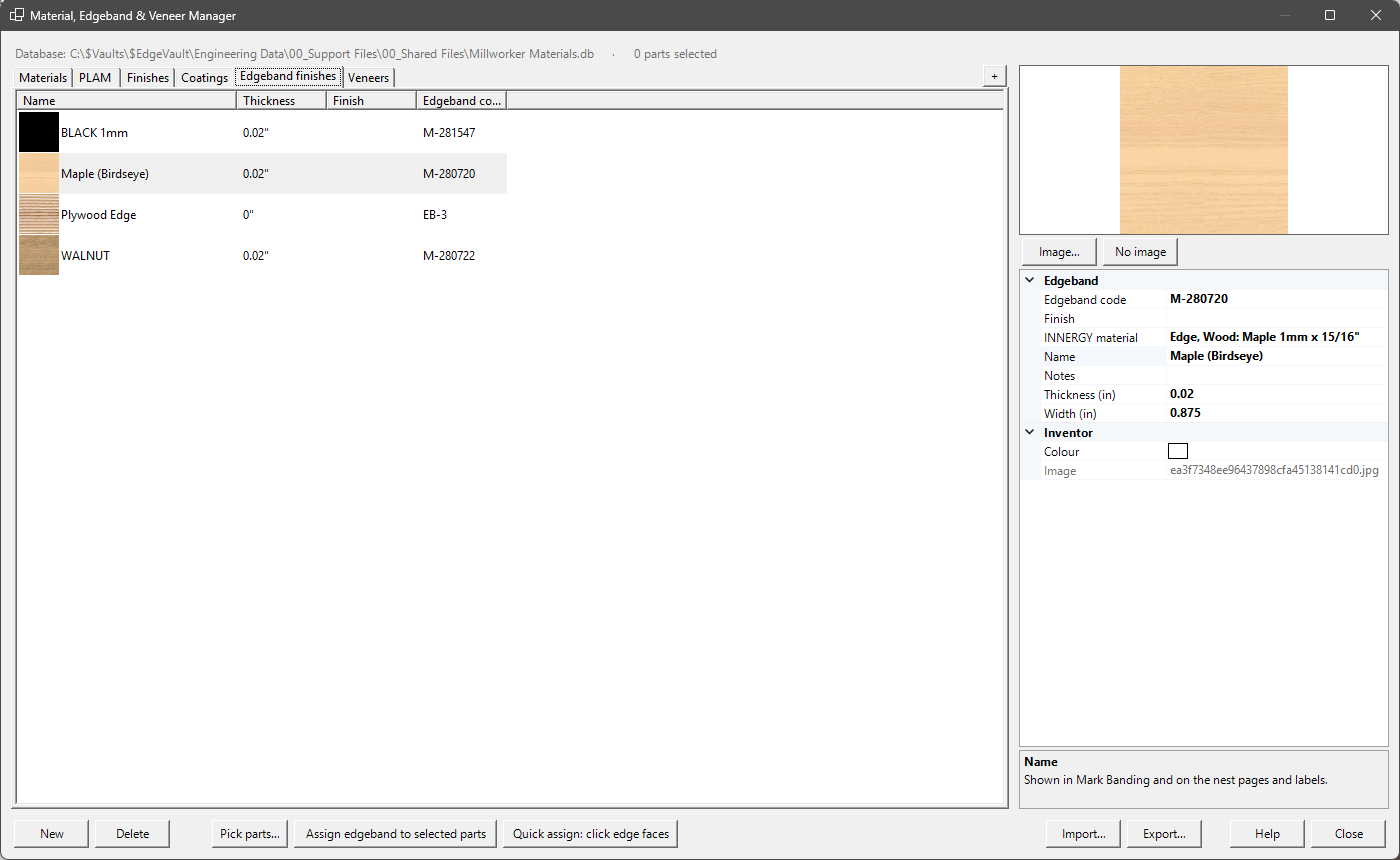
Name, thickness, width, finish, INNERGY code, INNERGY material, Edgeband code (EB-1…, a default shown in MatFin, not used), notes, a woodgrain picture (drawn with its length horizontal) and a colour for when there is no picture. These are the band list for Mark EdgeBand and the nest.
Veneers
Name, species, cut, thickness, Grade (the panel grade: face letter and back number, A1 is an A face and a 1 back; Face 1 takes the letter, Face 2 the number), Default code (the shop’s code, VEN01, for reference: it shows in MatFin’s DEFAULT CODE column, and the MatFin code is the one used), INNERGY code, INNERGY material and picture (grain horizontal). A veneer is a single leaf with one code; a layup puts one veneer on each face, the same or two different. In MatFin a veneer is a MATERIAL row with sub type VENEER, numbered VEN01, VEN02… A veneer goes on as a material's finish, or with Materials Finishes (finish type Veneers). NestCAM lays Face 1 up on the sheet. The grades offered are every face grade with every back grade in Millworker Settings, General tab, Veneer (face A, B, C; back 1, 2, 3 to start).
Finishes
Finishes, Coatings and any tab you add with + (stains, laminates…). Each finish has a name, kind, Default code (shown in MatFin, not used) and the Inventor appearance that shows it. A finish has no INNERGY code or description of its own: those come from the material. It is linked to each project's MatFin workbook by its name: that row's EWC code is its code in the project. Push to MatFin brings finishes in without an INNERGY SKU. A material's Finish type and Finish put that finish on the parts' two largest faces when the material is put on. A material whose Finish type is BLANK takes any finish off the large faces (their appearance override is removed), so they show the material; banded and veneered faces keep theirs.
When an entry goes on a part
With Materials Finishes (or Mark EdgeBand for edgebands):
- A material is made in each part, copied from its library material, with an appearance from the entry's picture. Pictures run along the panel's marked grain (or its longest edge).
- An edgeband replaces the band on each part's banded faces.
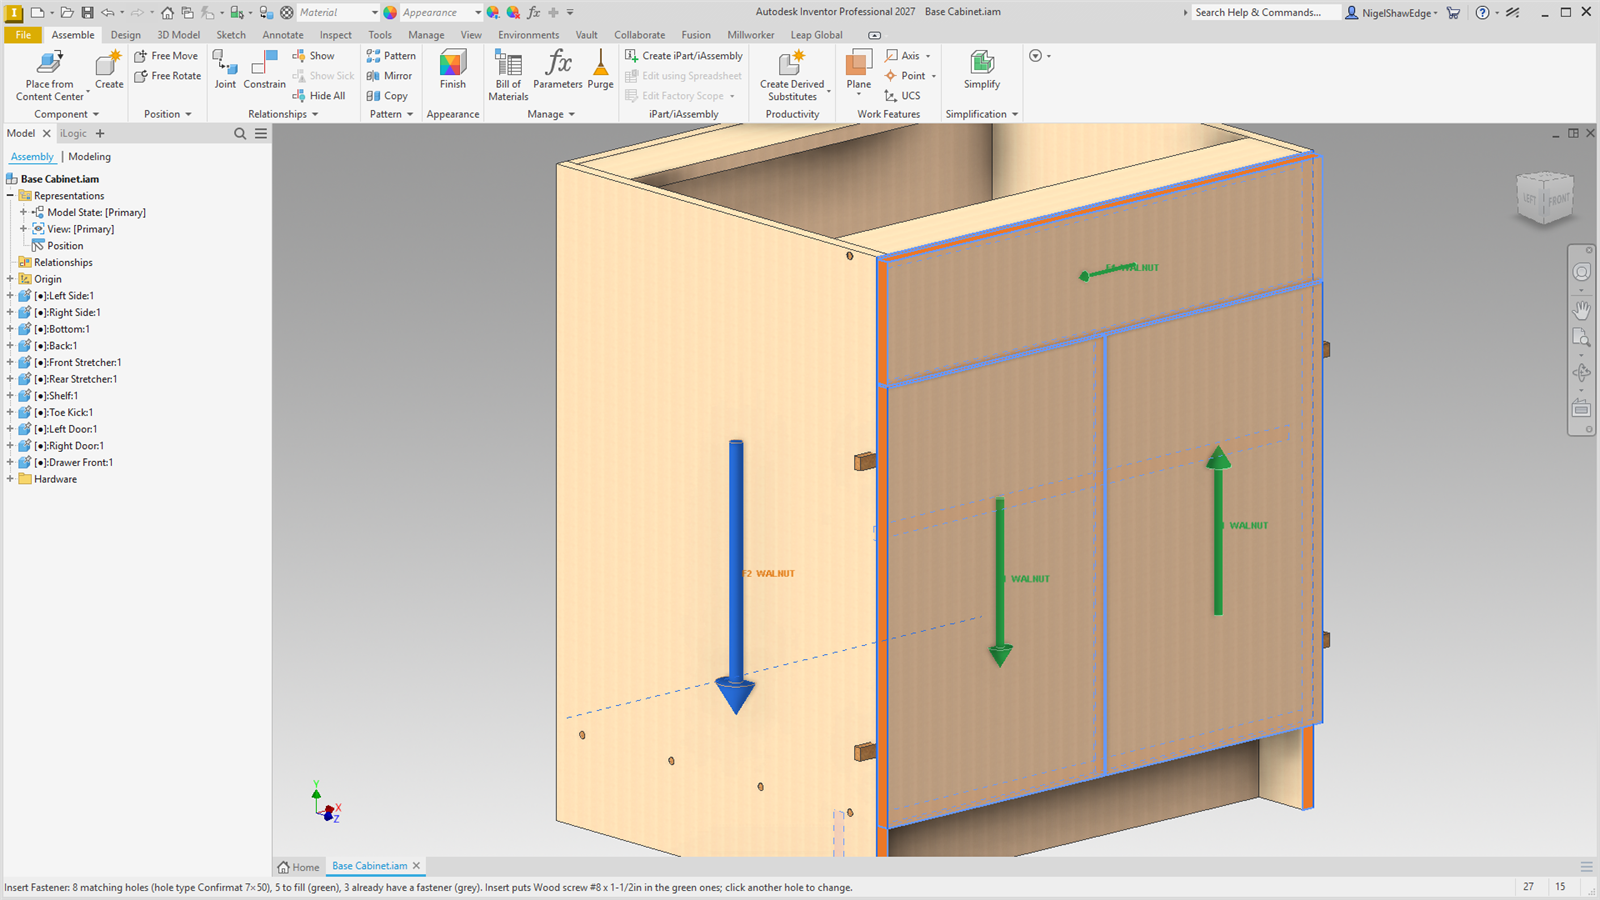
- A finish takes every look the part had off first (its own, its bodies', features' and faces'), then puts the finish on the whole part, every face. The two large faces are marked with it (cut lists and codes). Banded and veneered faces keep their own look.
- The project's codes (from MatFin) go on with them: each part gets the codes as custom iProperties (
MillworkerMaterialCode,MillworkerFinishFace1Code,MillworkerFinishFace2Code,MillworkerCoatingFace1Code,MillworkerCoatingFace2Code,MillworkerEdgebandCode,MillworkerVeneerFace1Code,MillworkerVeneerFace2Code) and the material's name asMillworkerMaterial; banded, veneered and finished faces carry their code too. - The Inventor material made in the part and assigned is named after the entry's INNERGY material when it has one (as InvInnergy names it), else after the Millworker material. Either way it has the entry's picture and its Start from material's physical properties. NestCAM reads this name.
- The part shows the material's look: an appearance set over the whole part (a template's “SEE FINISH SCHEDULE”, say) is taken off, and bodies and features with their own appearance follow the part. Faces with a finish, veneer or edgeband keep theirs.
- After Push to MatFin's Save, every part in the assembly is given the workbook's codes straight away.
Sharing
Export… writes everything to a .mwmaterials.json file; Import… adds the entries from one, matched by name (it asks whether to update names already in the list). Export also copies every picture into a <file name> pictures folder beside the file: keep it with the file. Import brings in each picture this database can’t already find (in the textures folder or its Images folder) from that folder, and says if any are still missing.